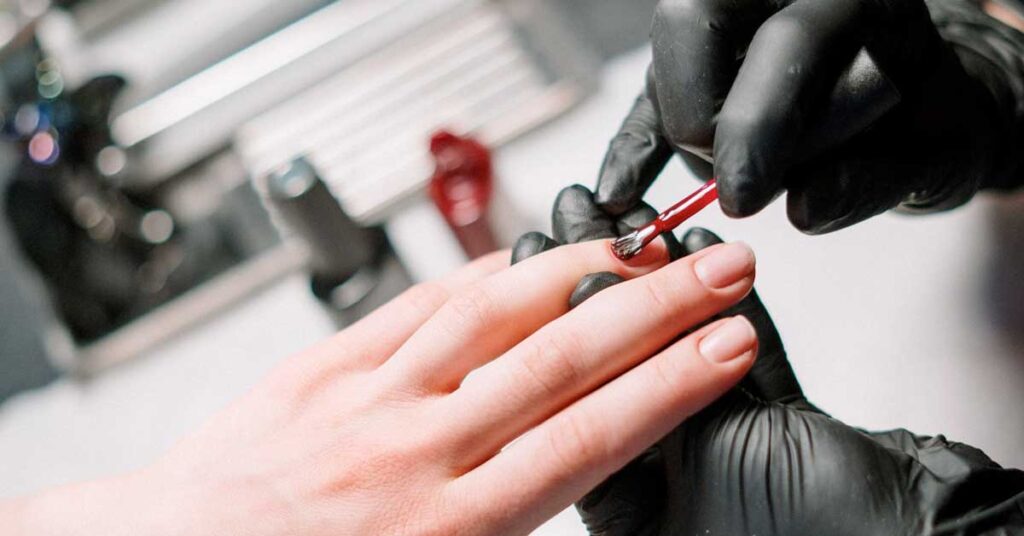
Ever wonder why a salon gel manicure can look pristine for weeks, but a DIY attempt sometimes chips or peels off in just a few days? The secret isn’t necessarily a more expensive polish, it’s all in the preparation work!
Gel polish needs a clean, dry, and slightly textured surface to adhere correctly. If there is any leftover oil, dead skin, or shine on your natural nail, the gel will lift.
Here is the ultimate guide to prepping your nails like a pro so your gel stays put.
1) Shape It Up
Before you do anything else, get your nails to the length and shape you want.
- Grab your glass nail file (they are gentler on the nail edge!) and file in one direction.
- Sawing back and forth can cause micro-tears that lead to chipping at the tips.
- Once you are happy with the shape, lightly file underneath the tip of the nail to remove any hanging bits of keratin.
2) Push Back Those Cuticles
This is where the magic happens. Gel polish absolutely will not stick to skin. If you paint over even a millimeter of the invisible dead skin (called the cuticle) that grows on your nail plate, the polish will lift within days.
– Take your trusty orange wood stick and gently push the proximal nail fold (the live skin at the base of your nail) backward.
– Use the flat side of the stick to gently scrape away the chalky white, dead skin stuck to the nail plate.
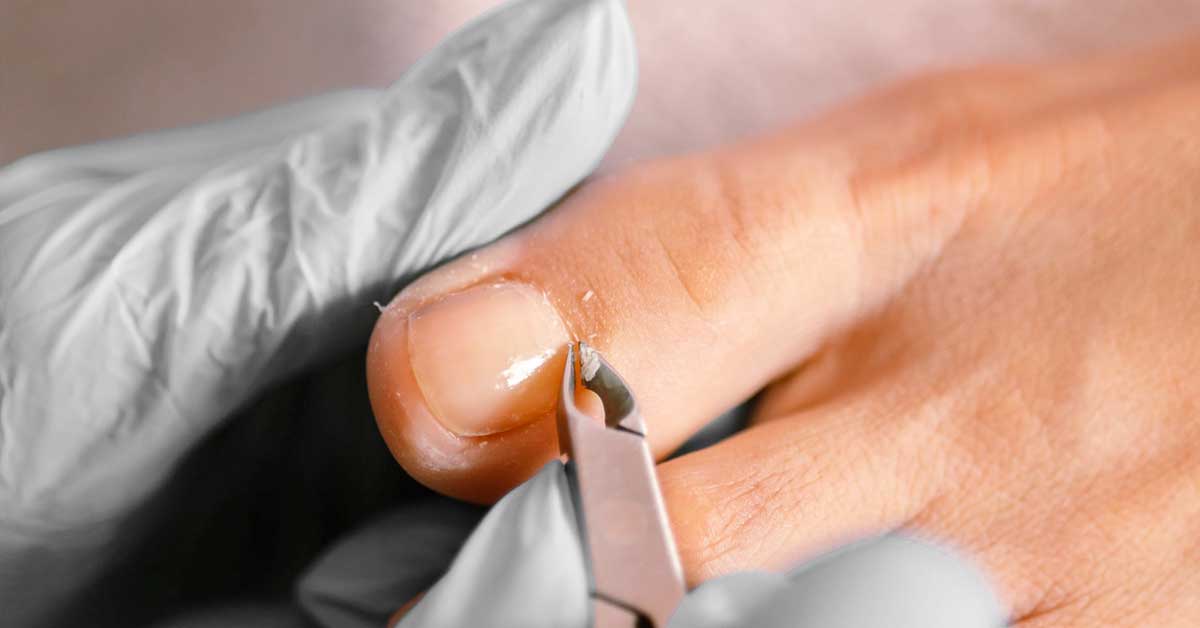
– A quick warning: Do not cut your live skin! Only use nippers if you have a very obvious, loose hangnail. Your live skin acts as a barrier against bacteria, so it’s best left alone.
3) Buff Away the Shine
Gel polish needs “tooth” or “grip” to hold onto. If your nail is perfectly smooth and shiny, the gel will just slide right off.
- Take a fine-grit buffer block (around 180 to 240 grit) and lightly buff the entire surface of your nail.
- You are not trying to thin the nail; you just want to remove the natural shine.
- Pay special attention to the sidewalls and the area near the cuticle, as these are the places most likely to lift!
4) Cleanse and Dehydrate
This is the most crucial step that many people skip at home! Your nails naturally produce oils, and any dust left over from filing will ruin your manicure.
- Soak a lint-free wipe (do not use cotton balls, as they will leave fuzz behind!) in isopropyl alcohol (at least 70%) or a dedicated nail cleanser.
- Scrub each nail thoroughly, getting into the side grooves and under the free edge.
- Once your nails are cleansed, do not touch them! The oils from your fingertips will transfer right back onto the nail plate.
5) The Golden Rules of Gel Prep
| Do This | Don’t Do This |
| Use a wooden orange stick for gentle pushing. | Don’t use a metal pusher if you are heavy-handed. |
| Use a lint-free wipe and pure rubbing alcohol. | Don’t use standard cotton balls (they leave tiny hairs). |
| Buff very lightly just to remove the shine. | Don’t over-file or thin out your natural nail bed. |
| Do a dry manicure. | Don’t soak your hands in water before applying gel. (Water causes the nail plate to expand. If you paint gel over a water-logged nail, the polish will pop off when the nail shrinks back to its normal size a few hours later!) |
Conclusion
Once your nails are filed, buffed, and squeaky clean, you are fully prepped and ready for your base coat! Taking those extra 10 minutes to properly prep your nails will save you the frustration of premature chipping, keeping your manicure looking flawless for weeks.