Nothing ruins the high of a fresh, shiny gel manicure quite like spotting a lifted edge just a day or two later. Especially right at the cuticle.
If your gel polish keeps peeling at the cuticle line, don’t worry! You’re definitely not alone, and your nails aren’t cursed! Cuticle peeling is actually one of the most common gel nail mishaps.
Here are the top reasons why your gel polish might be peeling at the base, along with quick, actionable fixes to keep your next manicure rock-solid.
1) You Left Polish on the Skin or Cuticle
This is the #1 culprit behind cuticle lifting. Gel polish needs a clean, dry nail plate to bond to. If even a microscopic layer of polish gets on your cuticle or the surrounding skin, it won’t adhere properly.
When your gel cures under the UV/LED lamp, it hardens into a solid sheet. As your skin naturally moves, produces oils, and sheds cells, the gel stuck to your skin pulls away from the nail, creating a pocket where air and water sneak in.
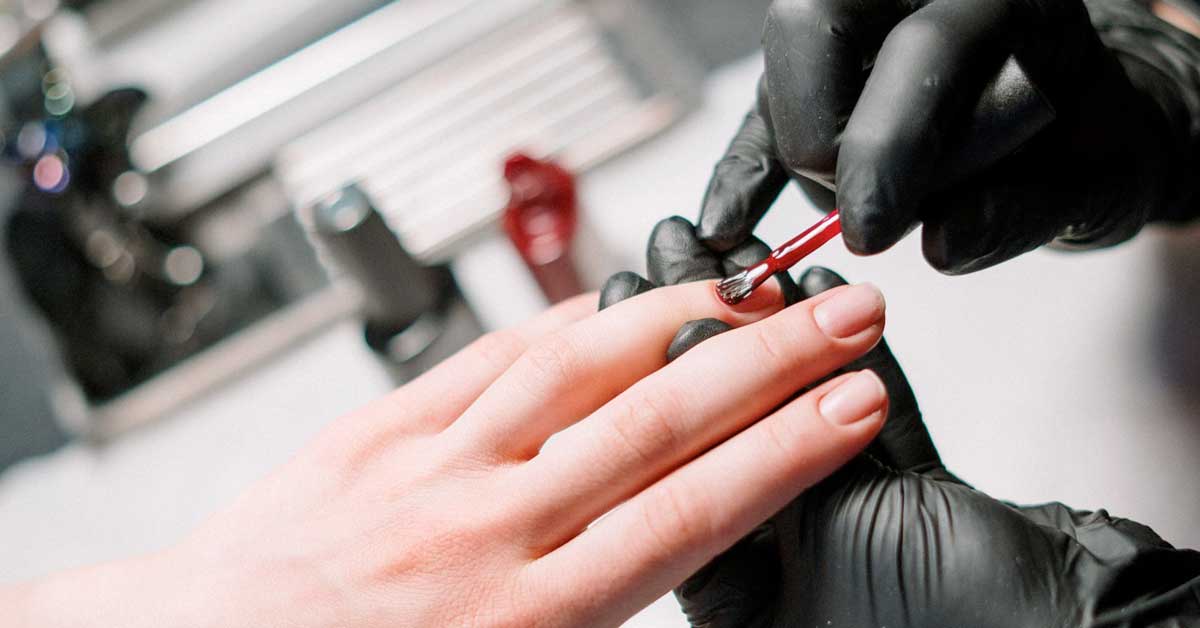
The Fix: Leave a tiny, hairline gap between your polish and the cuticle. If you accidentally flood the cuticle area while painting, use a thin brush dipped in acetone or a wooden cuticle stick to clean it up before putting your hand under the lamp!
2) True Cuticle Was Left on the Nail Plate
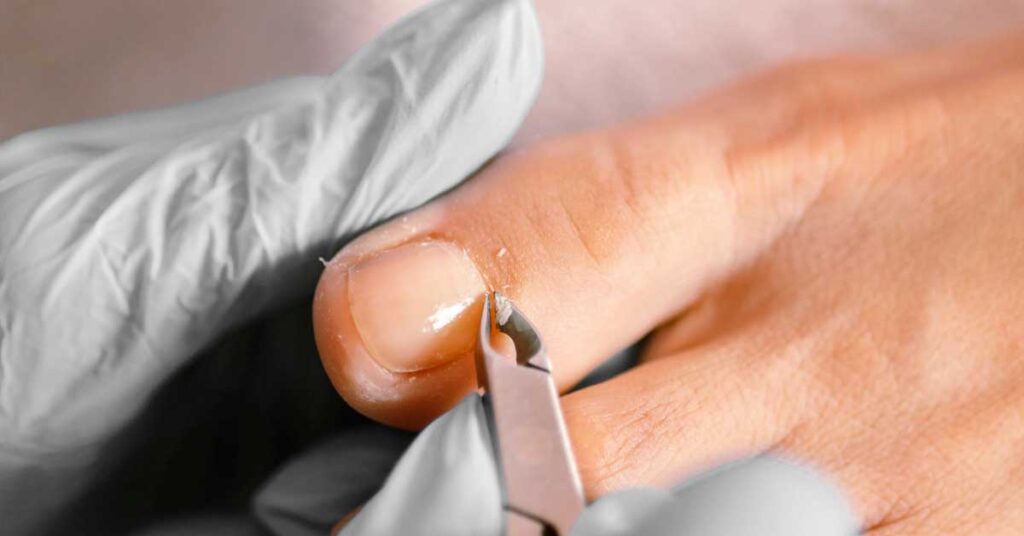
The clear layer of non-living, shed skin stuck to your nail plate near the base is called the true cuticle (also mistakenly called pterygium). Even if you push your cuticles back, this layer of dead skin often stays stuck to the nail. Polish will adhere to it initially, but because skin sheds, the gel will inevitably lift right off.
The Fix: Proper prep is everything! Gently push back your cuticles and use a cuticle remover or a fine buffer/file to gently scrape away any invisible dead skin clinging to the base of the nail.
3) Natural Oils or Dust Weren’t Removed
Nails are naturally oily, and residual moisture or dust from buffing acts like a barrier between your nail and the base coat.
The Fix: After buffing and prepping your cuticles, thoroughly cleanse your nails with 90%+ isopropyl alcohol or a dedicated nail dehydrator. Once you’ve cleansed, resist the urge to touch your face or hair before applying the base coat!
4) Thick Base or Polish Application
When it comes to gel polish, thicker is definitely not better! Applying a thick layer near the cuticle creates a heavy ledge that’s prone to catching on things. Thick layers also struggle to cure properly under the lamp, leaving sticky, uncured gel underneath that lifts easily.
The Fix: Apply ultra-thin layers. Wipe almost all the product off your brush before applying polish near the cuticle, and build your coverage gradually across two or three thin coats.
5) Over-Filing or Damaged Cuticle Area
If you’ve been a little too enthusiastic with a nail file or buffing block near the base of your nail, you might have thinned out the top layers of keratin. Damaged, weak, or overly flexible nail plates make it much harder for gel to stay anchored.
The Fix: Be gentle! Use a high-grit buffer (240-grit or higher) just to remove the natural shine. Never strip away layers of the actual nail.
6) A Final Prep Checklist For Your Next Gel Manicure
Before you reach for the base coat next time, you can learn more about how to prep your nails for your next gel manicure by reading out guide on it!
A little extra patience during the prep phase makes all the difference. Give these tweaks a try during your next nail session, and you’ll be enjoying smooth, peel-free manicures for weeks!