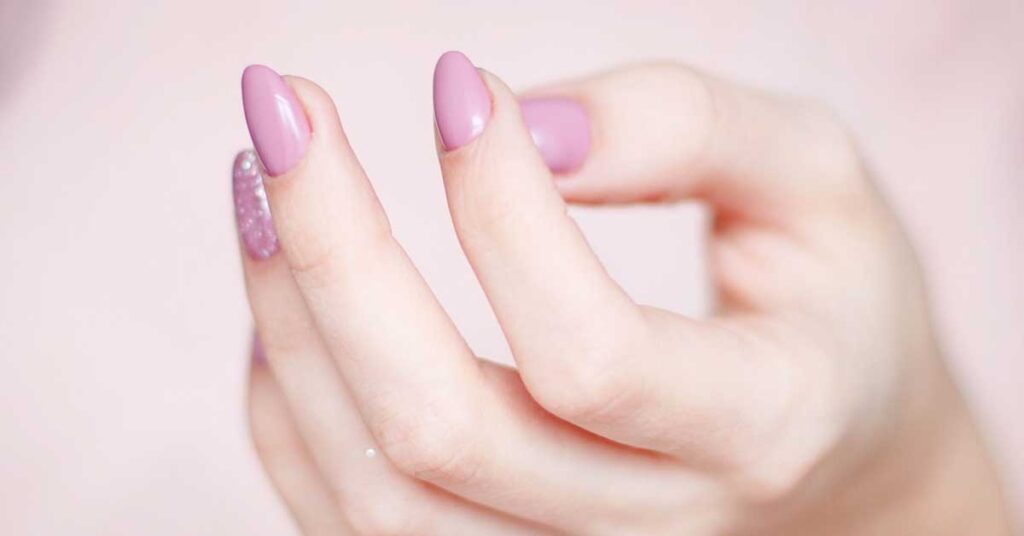
We’ve all experienced that post-gel panic. You finally take off your polish (hopefully not by peeling it!), and underneath, your natural nails look completely different. They might feel bendy, look paper-thin, or even feel a little sensitive to hot and cold water.
Don’t panic! It is totally normal for nails to need a little TLC after back-to-back gel manicures. The removal process, especially the scraping and acetone soaking, strips away natural oils and can take microscopic layers of the nail plate with it. Read our tip on how to remove gel polish without the harsh acetone.
The good news? Nails grow back, and with the right routine, you can nurse them back to strength. Here is your ultimate guide to repairing thin, damaged nails after gel.
1) The Golden Rule: Go Short and Bare
The very first thing you need to do is grab a nail clipper. When your nails are weak and thin, every little bump against a keyboard or a car door can cause a painful tear.
File them down: Keep your nails short, right near the fingertip, until the damaged portion grows out.
Take a breather: Resist the urge to immediately cover the damage with regular polish. Your nails need moisture right now, and polish (and polish remover) will only dry them out further. Give them at least a week to breathe and rehydrate.
2) Make Cuticle Oil Your Best Friend
If you only take away one tip from this post, let it be this: hydrate, hydrate, hydrate.
When nails are brittle, they snap. When they are flexible and moisturized, they bend. Cuticle oil is the magic ingredient that restores that flexibility.
Look for oils that contain jojoba oil. The molecules in jojoba are small enough to actually penetrate the nail plate, whereas heavier oils just sit on top.
1. Apply multiple times a day: Keep a bottle on your desk, next to your bed, and in your purse. Brush a little oil on your cuticles and the nail plate 2-3 times a day.
2.Massage it in: Don’t just paint it on. Gently rub the oil into your nail beds. The massage stimulates blood flow to the nail matrix, which encourages healthy growth.
3.Seal it at night: Right before bed, apply your cuticle oil and immediately follow up with a thick, rich hand cream. The cream acts as a barrier, locking the oil in so it can work its magic overnight.
3) Switch to a Glass Nail File
Those cheap, gritty emery boards you get in bulk? Throw them out.
Traditional emery boards create micro-tears along the edge of your nail, which leads to peeling and splitting, exactly what you are trying to avoid right now.
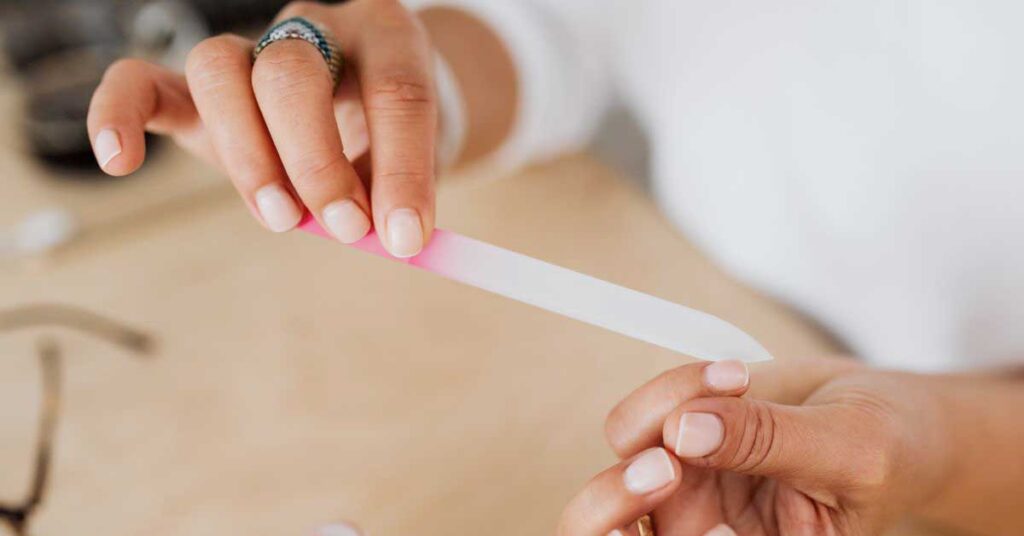
Invest in a glass (or crystal) nail file. They have a microscopically smooth, grit-like surface that seals the keratin layers at the edge of your nail as you file. They are significantly gentler on weak nails and they last forever!
4) Use a Nail Strengthener (Carefully)
Nail strengtheners can be a great tool to provide a temporary “shield” over thin nails, preventing them from bending painfully while they heal. However, you need to read the ingredients.
What to look for: Look for treatments formulated with keratin, calcium, or peptides. These help condition the nail.
What to avoid: Stay away from strengtheners containing formaldehyde (sometimes listed as formalin). While it hardens the nail initially, it actually cross-links the keratin fibers too tightly, making the nail so hard that it becomes brittle and snaps off.
5) Be Gentle on Your Hands
While your nails are recovering, you need to protect them from everyday wear and tear. Water is actually the enemy of weak nails: it causes the nail plate to swell and shrink, which leads to peeling.
Wear gloves: Always wear rubber gloves when washing dishes or using household cleaning sprays.
Use your tools, not your nails: Stop using your nails to open soda cans, peel off stickers, or pry things open. Use a butter knife, a coin, or the pad of your finger instead.
6) Why Are My Nails Thin & Brittle After Gel Manicures?
Understanding what actually weakens the nail plate makes it much easier to protect your natural nails next time.
a) Over-Filing the Natural Nail
Before gel goes on, the nail surface is lightly buffed so the polish sticks. If a tech uses an aggressive hand file or an e-file (electric drill) with too much pressure, they strip away healthy layers of your nail plate before the polish is even cured.
b) Dehydrating Acetone Soaks
Pure acetone is essential for breaking down cured gel polymers, but it’s an intense solvent. Prolonged contact strips the natural lipids (fats) and moisture straight out of your nails and surrounding cuticles, leaving them brittle and stiff. Find out how to remove gel polish without using acetone.
c) Peeling or Picking Off The Gel
When gel starts lifting, it’s very tempting to pick at the edge and peel it like a sticker. Resist the urge! Gel bonding agents grip the topmost layers of your nail plate. When you pull the polish off dry, you inevitably rip away delicate layers of keratin (the protein your nails are made of) along with it.
Peeling off gel manually thins your actual nail bed, leaving it soft, sensitive, and prone to breaking.
7) Conclusion
Recovering from gel damage isn’t an overnight fix: it takes about 3 to 6 months for a fingernail to completely replace itself from base to tip. But with daily oiling and a little patience, your natural nails will be strong, flexible, and healthy again before you know it!